
How to Make a Stunning River Table: A Quick DIY Guide
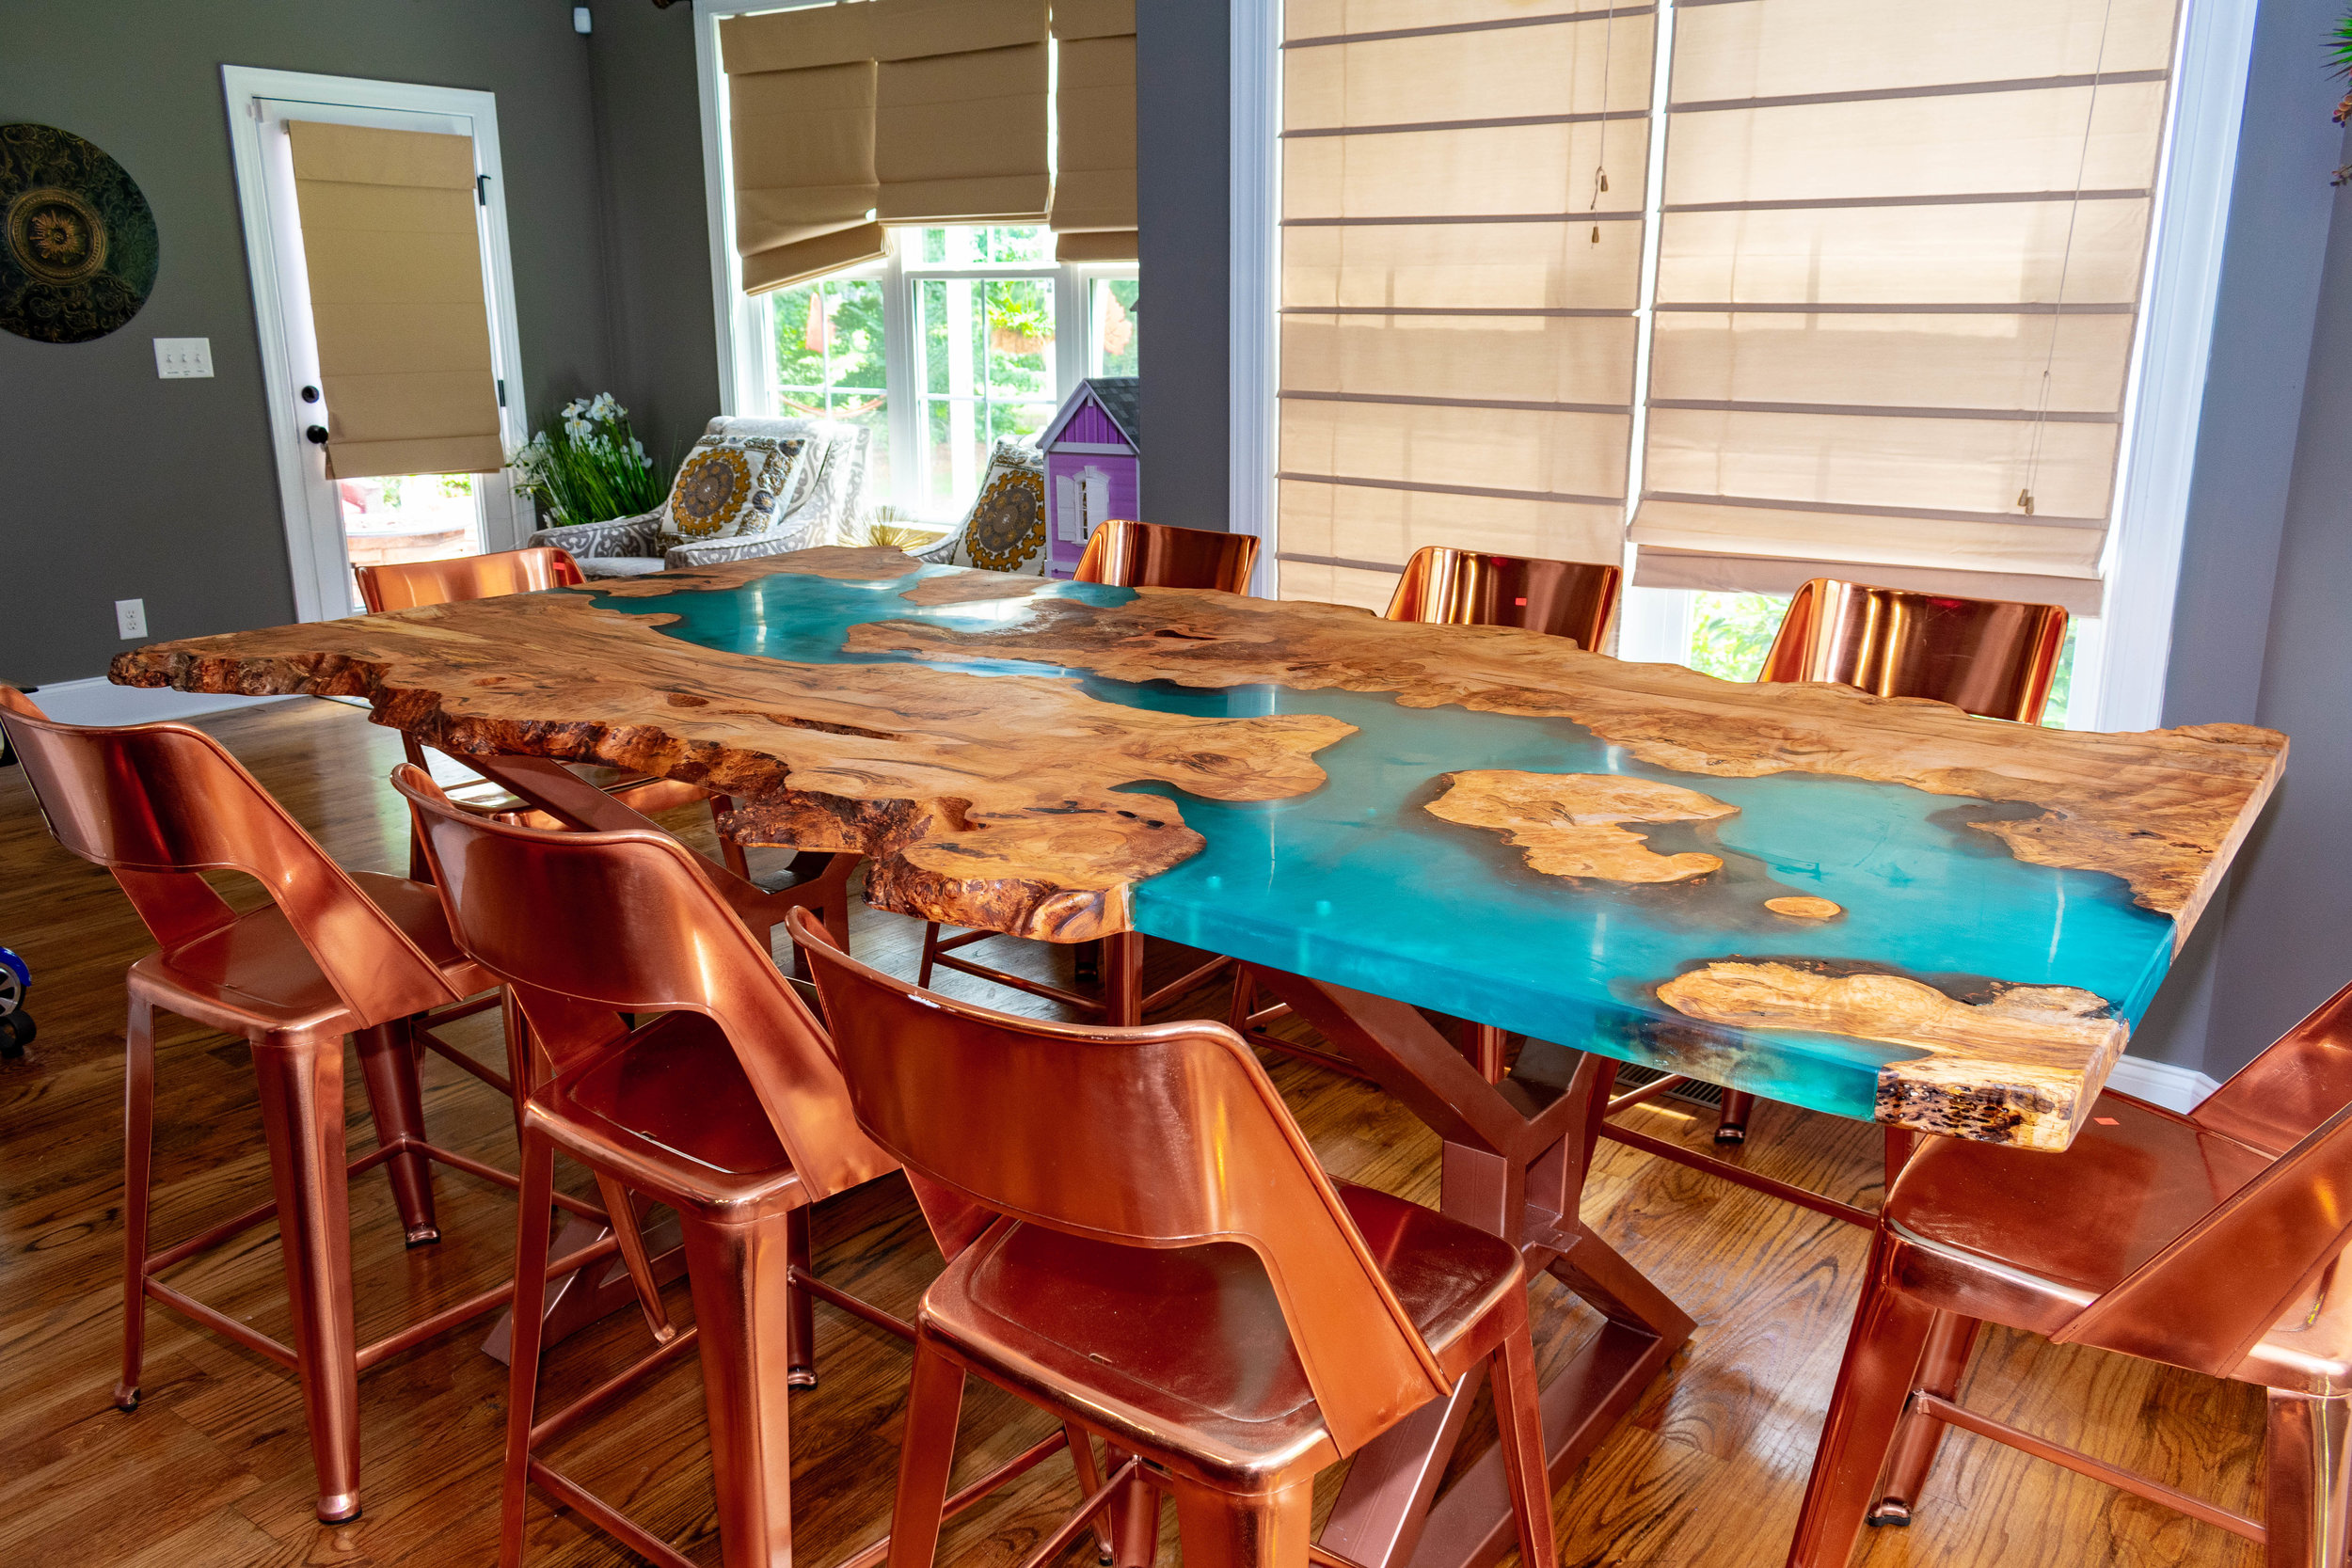
Making a river table is a rewarding project that replicates the visual appeal of a flowing river by blending the sophisticated, contemporary look of epoxy resin with the natural beauty of wood. This table is a unique work of art that is sure to spark conversation.
Making a beautiful river table requires patience, creativity, and attention to detail. This is a thorough road map to guide you through the process.
Things You'll Need:
Check that you have the essential equipment and supplies before you begin:
A slab with a live edge, or two slabs to create a river appearance.
Epoxy resin (be sure it's a kind of fit for casting).
Colors or dyes (optional for the epoxy)
Sealant
Sandpaper in several grits ranging from 80 to 2000
A planer or a router
Sandpapers
Either a table saw or a circular saw
A heat cannon or blowtorch
A mixing container and sticks
Gloves, goggles, and a respirator—protective gear
Step 1: Wood Preparation
Choose the Wood:
The banks of your river will be made by one or two live edge slabs. The originality of the slab(s) will have a direct influence on the end product's appeal.
Cut and Plan the Design:
Arrange two slabs on a level surface to design where the river will flow between them and how they will appear. Trim the wood to your preferred size with a saw.
Level the Slabs:
Use a router sled or planer to ensure that the slabs are flat. This will help with resin pouring and keep it from pooling in undesirable spots.
Seal the Wood:
Sand the wood, paying special attention to the edges that will be in contact with the resin. This step prevents bubbles and resin from seeping into the wood.
Step 2: Making the Mold
Build a Mold:
Make a mold out of another non-porous material or melamine board. Make sure the silicone caulk seals it properly to prevent resin leakage.
Place the Wood in the Mold:
Arrange your slabs in the mold so that the "river" between them has the appropriate spacing. If necessary, use shims to hold the wood in place.
Step 3: Resin Mixing and Pouring
Prepare the Epoxy Resin:
Apply your epoxy resin precisely as instructed. The quantity required depends on the size of your river and the manufacturer's specifications.
Optional: Dye the Resin
If you are adding pigments or dyes, mix them with the resin to get the appropriate color intensity.
Pour the Resin
Pour the resin gently into the river channel. Any surface bubbles should be burst with a blowtorch or heat pistol. Depending on the depth of your river, you may need to pour many layers, allowing each to partially cure before pouring the next.
Step 4: Removing Molds and Reshaping
Remove the Table from the Mold:
Once the resin has completely cured, carefully remove the table from the mold (curing times are specified in the resin guidelines).
Trim and Shape:
Trimming any excess glue and wood with a saw will allow you to shape the table to your exact final specifications.
Step 5: Sand and polish the wood:
Sanding:
To get a clean finish, begin sanding with a lower-grit sandpaper (usually 80–120) and work your way up to a higher grit—up to 2000. Pay particular attention to the transition between the resin and the wood.
Polishing:
Once the table has been sanded to a smooth finish, you may choose to polish the resin to add gloss.
Step 6: Final Enhancements
Make a Final Touch:
Applying a finish—such as oil, varnish, or epoxy—to the wood parts of your table will not only improve its appearance but also protect it.
Attaching Legs:
Choose the type of legs you want for your table and follow the manufacturer's instructions for attachment.
Guidance on Achieving Your Goals
When working with wood and epoxy resin, always use appropriate safety equipment.
Work in a well-ventilated area.
To ensure that your color combination is perfect, test small amounts of resin before pouring the entire batch.
Consider adding shells or stones to the resin for added effect.
Conclusion:
Creating a river table is a rewarding project that results in a stunning, custom piece of furniture. While the process requires patience and precision, the end result is well worth the effort. However, achieving the perfect balance of wood and epoxy takes skill, and working with experienced professionals can ensure flawless execution.
At The Knotty Log Woodworks, we specialize in crafting high-quality, custom-built river tables designed to fit your space and style. Instead of tackling the complexities of DIY, let our expert craftsmen bring your vision to life. Contact us today to discuss your custom river table project!